> For the complete documentation index, see [llms.txt](https://docs.theseaai.com/llms.txt). Markdown versions of documentation pages are available by appending `.md` to page URLs; this page is available as [Markdown](https://docs.theseaai.com/main/ch/onboarding/firstgeneration.md).
# 首次生成
现在你已经准备就绪,让我们试着用 Beachside 进行生成。
## 文本提示词
Beachside 允许你使用“文本提示词”编辑图像。在继续之前,请确保任务菜单的第一个选项 **Nano Banana Pro** 已被选中,这是我们用于编辑的 AI 模型。
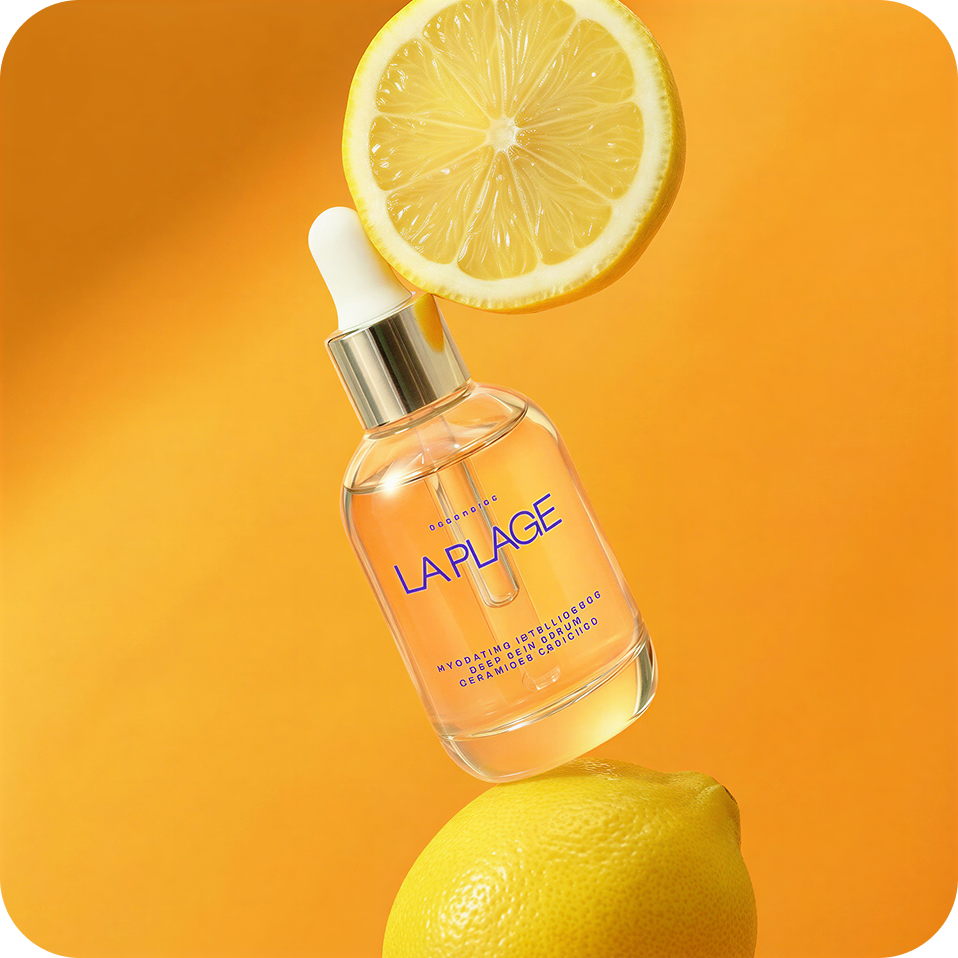
让我们用一个简单的提示词,把场景中的水果改成柠檬,而不是橙子:
1. 在“生成设置”面板中输入此提示词: *把橙子改成柠檬*
2. 点击 **生成** 面板底部的按钮。
3. Beachside 将花费几秒钟生成 4 个新场景。
### 生成的场景
***
## 回顾并重复步骤
跟随下面的交互式教程,你将能够创建一个新场景,选择“模型生成”,并使用你自己的提示词。
{% hint style="info" icon="language" %}
**如何更改你的教程语言**\
教程默认以英文显示。要以其他语言查看本教程,请将鼠标悬停在右上角并选择 :language: **语言**.
{% endhint %}
{% @arcade/embed flowId="fiHvNkk3LPOK3gCcVFKg" url="" %}
{% stepper %}
{% step %}
#### 开始新的生成
你可以从以下位置开始新的生成:
* **屏幕左侧的“场景面板”:** \
在屏幕左上方的“场景面板”中,选择 :plus-large: 图标以创建一个新场景。
* **从画布的任何位置**\
在画布任意位置右键单击并选择 **+ 创建新场景** 或者使用键盘快捷键 :command:Mac 上按 +Shift+S,Windows 上按 Control+Shift+S。
{% endstep %}
{% step %}
#### 选择“从图像开始”
{% endstep %}
{% step %}
#### 上传你的图像
选择并上传你想编辑的图像。
你可以通过以下方式上传图片:
* 从资源库面板拖放一张图像
* 选择 **上传图片** 在场景中
* 从电脑中的文件夹拖放一张图片
上传后,产品将显示在场景中。
{% endstep %}
{% step %}
#### 选择“模型生成”
确保第一个选项 **Nano Banana Pro** 已在左侧任务菜单中选中,这是我们用于编辑的 AI 模型。你也可以选择其他模型来生成你的图像。
可用的 AI 生成模型
* **Nano Banana Pro:** 无缝、一致的编辑,具备准确的细节和反射
* **Nano Banana 2:** 以忠实的结构和自然的细节精修并转换视觉内容
* **Nano Banana:** 无缝、一致的编辑,具备准确的细节和反射
* **GPT5:** 具备精确语义理解的照片级细节。
* **Seedream 4.5:** 超一致的编辑,具有卓越的细节保留和自然光照
* **Seedream 4:** 高保真编辑,具有自然光照和细节保留
* **Seedream 3:** 基于原始图像生成新鲜且一致的变体
* **Flux Kontext:** 精准、无缝的编辑,呈现自然效果
* **Qwen:** 多样化的视觉创作,具备准确的文本融合
{% endstep %}
{% step %}
#### 输入你的文本提示词
在“生成设置”面板中输入你的提示词。\
以下是一些提示词示例:
*将场景改为日落*
*将季节改为冬天,添加飘落的雪花*
*将场景改为夜晚*
{% endstep %}
{% step %}
#### 生成
确认所有设置后,选择 **生成**.
生成的场景将显示在您的 Playground 中。
{% endstep %}
{% endstepper %}
***
## 恭喜!
**接下来做什么?**
既然你已经熟悉了基础内容,不妨探索左侧任务菜单中列出的功能。每个页面都提供详细的说明和指导,帮助你了解如何使用该工具,并开始在 Beachside 中进行创作。我们为什么不从“角度”开始呢?
{% content-ref url="/pages/b54dac83998c035aeb0ea95f329be5d10b07c0cb" %}
[角度](/main/ch/ren-wu/angle.md)
{% endcontent-ref %}
---
# Agent Instructions
This documentation is published with GitBook. GitBook is the documentation platform designed so that both humans and AI agents can read, navigate, and reason over technical content effectively. Learn more at gitbook.com.
## Querying This Documentation
If you need additional information that is not directly available in this page, you can query the documentation dynamically by asking a question.
Perform an HTTP GET request on the current page URL with the `ask` query parameter, and the optional `goal` query parameter:
```
GET https://docs.theseaai.com/main/ch/onboarding/firstgeneration.md?ask=&goal=
```
`ask` is the immediate question: it should be specific, self-contained, and written in natural language.
`goal` is optional and describes the broader end goal you are ultimately trying to accomplish on behalf of the user. GitBook uses it to tailor the answer towards what is most useful for that goal.
The response will contain a direct answer to the question and relevant excerpts and sources from the documentation.
Use this mechanism when the answer is not explicitly present in the current page, you need clarification or additional context, or you want to retrieve related documentation sections.